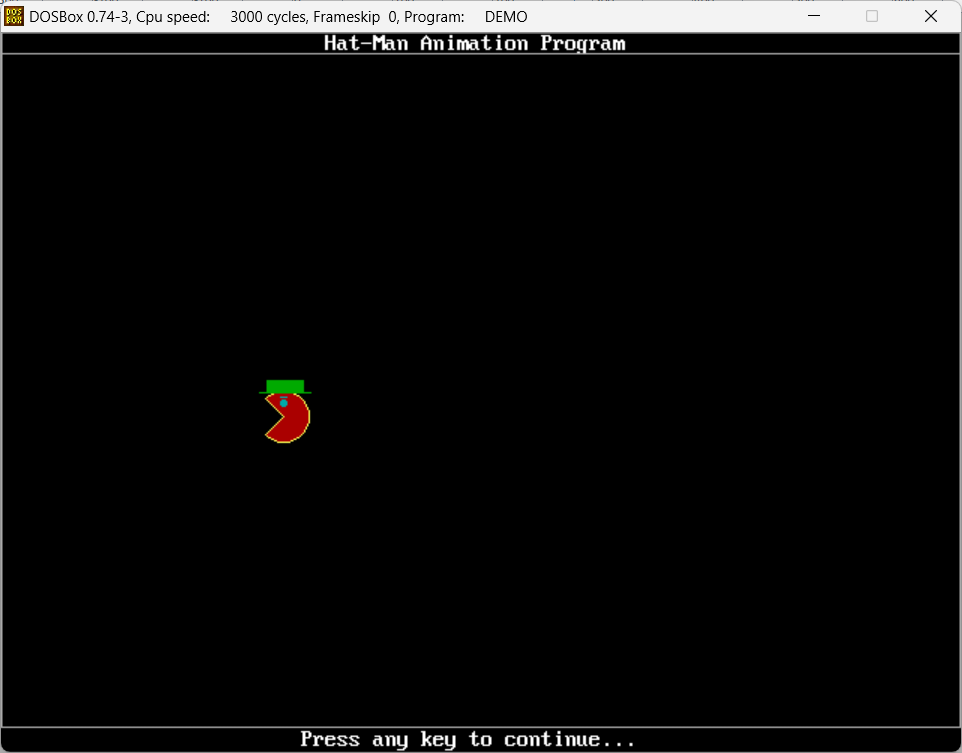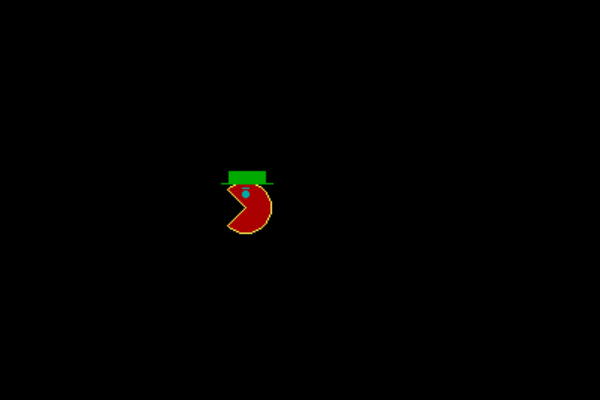
The Hatman animation demo is a prime example of what you could do in BASIC, back in the days. The program is part of my Graphics Power Diskette. I developed this program while attending City Tech. Man, that was a long time ago.
Hatman animation demo
Before you think BASIC is basic, there were so many things you could do in the computer language. Including memory addressing, and storing images in memory to use later. I think I did this program in a combination of BASICA, QuickBasic, and Visual Basic for DOS. BASICA is simply advanced BASIC.
And yes, they had a Visual Basic for DOS, which allowed you to easily create actions for the mouse.
By the way, because I already had Pac-Man, I did not feel the need to go crazy and attempt to create an entire game in BASIC. Just wanted to do a demo.
The video
So, I decided to put together a very, very short clip of Hatman in action. After you peep the video, check out the code for the program.
The code
Below is the main subroutine code for the program. Also, it looks as if I put the two figures in memory locations. Very interesting. Moreover, I have some supporting subs within the routine too.
'HatMan:
'   Animation program.
SUB HatMan ()
   REDIM HatMan1(800), HatMan2(800)                    'allocate storage space
   GraphWindow "Hat-Man Animation Program"             'display graphics window
   PutImage "HATMAN1.IMG", 800, 12, 302, 215           'place first hat-man
   GET (302, 215)-(339, 258), HatMan1                  'store first hat-man
   CLS                                                 'clear viewport

   PutImage "HATMAN2.IMG", 800, 12, 302, 215           'place second hat-man
   GET (302, 215)-(339, 258), HatMan2                  'store first hat-man
   CLS                                                 'clear viewport
   GCenter 30, 80, 15, "Press any key to continue..."  'print prompt
   KeyBuffer                                           'clear keyboard buffer
   xc = 586                                            'initialize X-coordinate
   DO WHILE INKEY$ = ""                                'do until key is pressed
      PUT (xc, 215), HatMan2, XOR                      'place second hat-man
      delay .3                                         'pause
      PUT (xc, 215), HatMan2, XOR                      'remove second hat-man
      PUT (xc - 38, 215), HatMan1, XOR                 'place first hat-man
      delay .3                                         'pause
      PUT (xc - 38, 215), HatMan1, XOR                 'remove first hat-man
      xc = xc - 76                                     'decrease X-coordinate
      IF xc <= 16 THEN xc = 586                        'check X-coordinate
   LOOP                                                'end keypress loop
END SUB
Supporting subs
Below are some of the supporting subs of the Hatman program.
'Delay:
'   Pauses execution for a number of seconds or less.
'parameters:
'   seconds - seconds or less to pause
SUB delay (seconds!)
   StartTime! = TIMER                          'initialize start time
   DO                                          'start loop
   LOOP UNTIL (TIMER - StartTime!) >= seconds! 'end loop if true
END SUB
'GCenter:
' Centers text at a given row with color in graphics mode.
'parameters:
' row - row
' MaxCol - maximum column
' fgkol - foreground color
' text$ - text to print
SUB GCenter (row, MaxCol, fgkol, text$)
col = MaxCol / 2 - LEN(text$) / 2 'define column
GPrtText row, col, fgkol, text$ 'print text
END SUB
'GPrtText:
' Prints text at a given location with color in graphics mode.
'parameters:
' row - row
' col - column
' fgkol - foreground color
' text$ - text to be printed to screen
SUB GPrtText (row, col, fgkol, text$)
LOCATE row, col 'set location
COLOR fgkol 'set color
PRINT text$; 'print text
END SUB'GraphWindow:
' Creates a window in mode 12 (VGA) to view graphics.
'parameters:
' title$ - title of the graphics window
SUB GraphWindow (title$)
GraphMode 12, 80, 30 'switch to graphics mode
GraphCenter 1, 80, 15, title$ 'center title
LINE (0, 0)-(639, 463), 7, B 'outer border line
LINE (0, 14)-(639, 14), 7 'title dividing line
VIEW (2, 16)-(637, 461) 'area to view graphics
END SUB'PutImage:
' Loads and places an image on the screen.
'parameters:
' filename$ - filename
' asize - array size
' mode - screen mode
' xc - x-coordinate
' yc - y-coordinate
SUB PutImage (filename$, asize, mode, xc, yc)
SCREEN mode 'set proper screen mode
REDIM image(asize) 'allocate storage for image
DEF SEG = VARSEG(image(0)) 'point to image's segment address
BLOAD filename$, VARPTR(image(0)) 'load image into array
DEF SEG 'point to BASIC's segment address
PUT (xc, yc), image, PSET 'place image onto screen
END SUBSo, there you have it. To be honest, I do not remember everything I did, but I pretty much understand the code. Perhaps, the main supporting routine is the delay sub. Without a delay between the two figures, it does not chomp.
In addition, notice the indentation. That is not really a feature in the original BASIC language. On the other hand, it is more of a feature of QuickBasic and VB for DOS.
Note: I wrote this article fast. Therefore, some of the stuff in here seems redundant. Going forward, I will plan to be more creative and even more technical.
Related
- Best Ms Pacman game clone
- Mario Bros game clone
- Old school PC games
- Original version of Wingding Match game
- Scrambler game for Excel – Experiment
Thank you very much!


