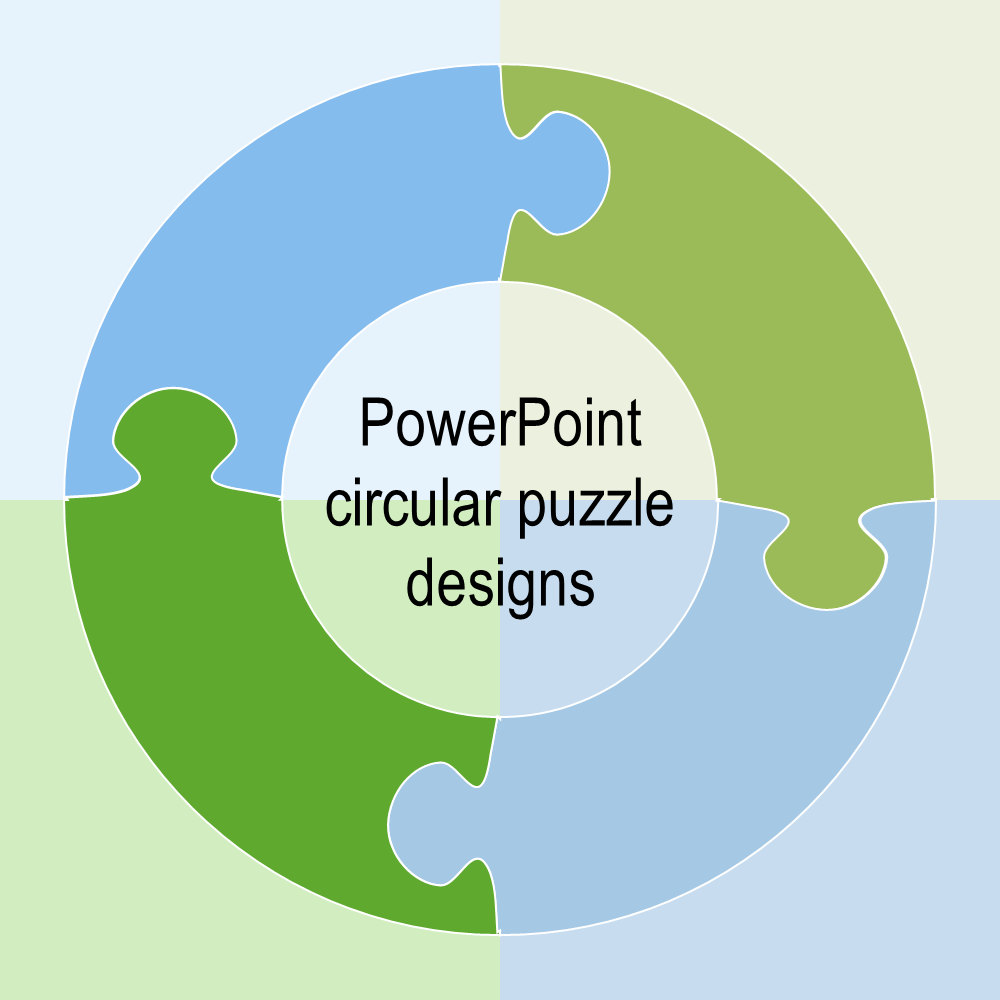
So, there is a quick way to create circular puzzle designs in PowerPoint (or PPT). For the purpose of this article, we use the Donut Maker as the main app, on a computer running Windows.
Quick steps to create PowerPoint circular puzzle designs
Below are the quick steps to create donut puzzle designs in PPT.
Create your puzzle donut
- Open the Donut Maker (or DM) online app.
- Select Puzzles under the Type list.
- Choose the number of pieces you want to show.
- Select a border and fill color for each piece.
Note: You can also make color changes directly in PPT. - Save your donut.
Note: Your donut is saved as a SVG file, which is compatible with PPT.
Basically, you just cut out a lot of time for creating a donut puzzle design in PPT. So, instead of going through hours of design time, you simply click and save. There you go.
Put your donut into PPT
Most likely, your donut is in your Downloads folder or Desktop folder. After you save your donut, follow the steps below to bring your donut into PPT.
- Firstly, open PPT.
- Find the folder where the SVG file is saved.
- Drag the SVG file directly into PPT.
Note: This method may not work on every system. - If step 3 does not work, then use the Insert… Picture method in PPT.
As a result, your circular puzzle design is now in PPT, as an SVG file. Depending on what you did in the DM app, that may be all you have to do. However, if you want to format each piece, then convert the SVG into a PPT shape object.
Separate the pieces
- In PPT, click on the SVG object.
- Press Ctrl-Shift-G to ungroup the SVG object.
Now, you may need to do the above two steps twice. Otherwise, you should be good-to-go.
Format your puzzle donut design
Finally, you can format your circular puzzle design, as you would do a normal PPT shape. We will not go into details on formatting here. In the end, it is up to you, what you want to do.


